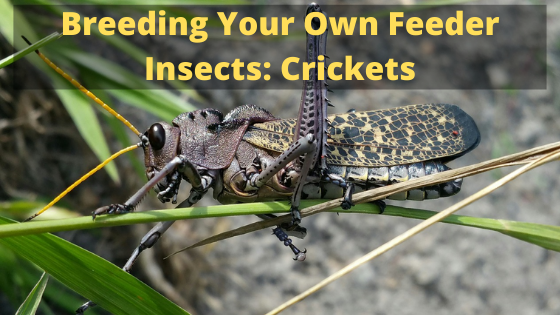
Live feeder insects, particularly crickets, are a staple of many popular pet lizard diets. While you can purchase live crickets for your herp, breeding and raising your own crickets can be very beneficial because the quality nutrition and care you provide is passed on to your herp. Below we’ll go over everything you need to know about raising your own crickets.
Getting Started
You will need to purchase a breeding stock to get started. We recommend a purchase of at least 15 to 20 large live crickets. This should yield at least 100 hatchlings.
Housing
Before you purchase your crickets, you will want to set up three habitats for them. One will be where the colony is kept while they are not breeding, one should be a breeding habitat, and one will be where you keep the crickets that you plan on feeding to your reptile.
The habitat for the colony and the habitat for your feeder insects will be set
up the same way. Use a glass aquarium with a screen lid. Don’t use any
substrate, and be sure to place plenty of hiding places such as egg crates
and paper towel tubes in it. Keep the temperature around 75° to 85°F with
the use of an incandescent light as a heat source for approximately 16 hours a day. A 40 watt bulb in a dome reflector is sufficient for a 10-gallon
terrarium. Monitor temperature with a thermometer. Clean the enclosure
once a week by wiping out the bottom of the container and replacing the hiding places.
The breeding enclosure will be slightly different. You will use the same kind of enclosure and you will put a couple egg crates in it for hiding places, but you will need to use substrate so the female crickets have somewhere to lay their eggs. Crickets’ natural nesting material is damp soil, so appropriate substrates can include soil or Eco-Earth Coconut Substrate. It is very important that the substrate remains moist, so be sure to mist it with water every other day or more if your house is particularly dry.
Another option for breeding is to put a dish containing moist soil directly into the regular enclosure. Leave it in there for about a week, and then move it to a breeding enclosure that contains soil. This can be beneficial because you don’t have to worry about moving the adults from container to container. However, you will still need multiple enclosures to do this.
Breeding Crickets
Put a few pairs of males and females in the breeding enclosure. You will be able to tell the females from the males because the females will have an ovipositor, or a long tube, emerging from their abdomen. This is what they will use to deposit the eggs in the soil.
You should see eggs between four and seven days after putting the crickets in the enclosure. They will take approximately 16 days to hatch. Before they do, be sure to put the adults back in the regular enclosure so the hatchlings aren’t injured or eaten.
During the period while you are waiting for the eggs to hatch, be sure to continue misting the soil. If the eggs dry out, they will not hatch.
Caring for Your Hatchlings
Once the hatchlings arrive, care for them as you would adults. Feed them a commercially prepared cricket diet such as Fluker’s Cricket Quencher or Fluker’s Orange Cube Complete Cricket Diet. These diets are generally easier to feed than those you come up with yourself, and they will gutload your crickets with all of the vitamins, minerals, proteins, carbohydrates, and fats that they need to provide your reptile with an excellent source of nutrition. You can supplement their diet with pieces of vegetables such as fresh lettuce and orange slices for added moisture and nourishment.
Provide a damp sponge or a moist paper tower for a water source. Never
put a water dish in the enclosure, as the hatchlings will drown in it. Do not clean the enclosure until the hatchlings measure at least 1/4″ long.
The hatchlings should reach adult size within four to six weeks, and you can put them back into the breeding colony or into the feeder insect enclosure at approximately 3 weeks. Always be sure to put at least 50 to 75 hatchlings back into the breeding enclosure to replenish it. If you don’t do this, the breeding colony will die out. Never use crickets from the breeding colony to feed your reptile.
Feeding Your Crickets to Your Herp
What size crickets you should feed will depend on how large your herp is. If he is large, feed him crickets that measure approximately 1″ or more. Smaller reptiles will need younger crickets that measure only about 1/4″ to 1/2″.
Before feeding them to your reptile, coat them in a calcium supplement such as ReptoCal. The easiest way to do this is to mist them with water, place them in a Feeding Rock, and pour the powder in. Shake it gently, and then place the rock in your reptile’s terrarium for the crickets to crawl out.
If you know the crickets may not be eaten immediately, be sure to provide a
dish filled with cricket food in the terrarium. Crickets are omnivores, and
without a food source, they will attempt to nibble on your reptile. We also recommend that you place a Cricket Preserver in the water dish so they can avoid drowning in case they jump in the dish. Check daily for dead crickets and remove any you find from your herp’s habitat.
Remember, a well-fed cricket makes for a healthier reptile, and with just a little effort, you can be breeding your own nutritious crickets in no time!
