Keeping a clean and well-maintained tank is crucial for the health and well-being of your Glofish. Regular tank maintenance helps maintain water quality, prevents the buildup of harmful substances, and ensures a vibrant and thriving aquarium. In this article, we’ll explore step-by-step instructions on how to clean a Glofish tank effectively.
Gather the Necessary Supplies
Before starting the cleaning process, gather the following supplies:
- Clean bucket or container
- Aquarium siphon or gravel vacuum
- Clean, non-abrasive sponge or algae scraper
- Aquarium-safe glass cleaner
- Clean towels or paper towels
- Water conditioner (if needed)
Partial Water Change
Performing regular partial water changes is an essential part of maintaining a healthy Glofish tank. Follow these steps:
- Turn off all electrical equipment, such as filters and heaters.
- Using the aquarium siphon or gravel vacuum, gently vacuum the substrate to remove accumulated waste and debris. Start at one end of the tank and work your way across, being careful not to disturb the fish or decorations.
- Prepare the clean bucket or container and fill it with fresh, dechlorinated water. Ensure the temperature of the new water closely matches the tank water.
- Carefully siphon out approximately 20-30% of the water from the tank, directing it into the bucket or container.
- Dispose of the old water responsibly, avoiding drains or areas that may be sensitive to water changes.
- Slowly pour the new, dechlorinated water into the tank, taking care not to disturb the fish or decorations.
- Turn the electrical equipment back on once the water level has been restored.
Cleaning the Glass and Decorations
To maintain a clean and visually appealing tank, follow these steps to clean the glass and decorations:
- Use an aquarium-safe glass cleaner and a clean, non-abrasive sponge or algae scraper to remove any algae or buildup from the glass. Be gentle to avoid scratching the glass.
- For decorations and accessories, remove any ornaments or plants that have visible algae or debris on them. If you want to prevent this in the future, you check check out the best algae eaters for a glofish tank.
- Gently scrub the decorations with the sponge or brush under running water, removing any algae or dirt.
- If needed, use a mild solution of water and aquarium-safe cleaner to remove stubborn algae or stains from decorations. Rinse them thoroughly afterward to ensure no residue remains.
- Once the glass and decorations are clean, carefully place the decorations back into the tank, arranging them as desired.
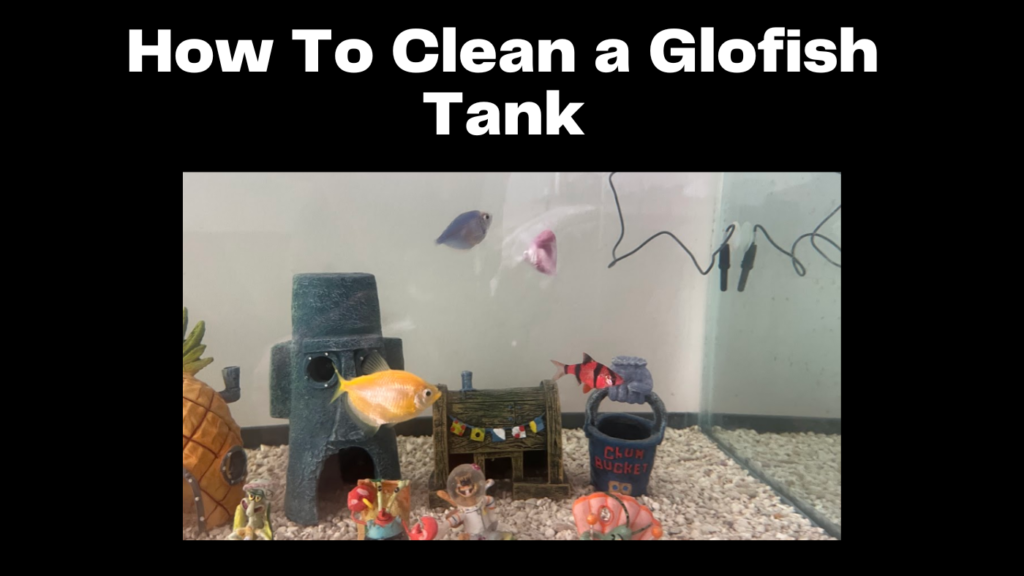
For inspiration on decoration ideas, checkout my article on my favorite Spongebob themed Glofish decorations.
Cleaning the Filter
The filter plays a crucial role in maintaining water quality. Follow these steps to clean the filter:
- Turn off and unplug the filter, following the manufacturer’s instructions.
- Remove the filter media (e.g., foam pads, carbon cartridges) and rinse them in tank water. Avoid using tap water, as it can harm the beneficial bacteria colonies that help with biological filtration.
- If the filter has any additional components or compartments, such as impellers or tubing, clean them as recommended by the manufacturer.
- Reassemble the filter, ensuring all components are properly in place.
- Plug in and restart the filter, allowing it to run and resume its normal function.
Maintaining Regular Cleaning Schedule
To keep your Glofish tank clean and healthy, establish a regular cleaning schedule. Depending on your tank’s size and stocking levels, a weekly or bi-weekly partial water change, glass cleaning, and filter maintenance may be necessary. Regular observation of the tank will help you determine the optimal cleaning frequency based on the conditions and needs of your specific setup.